Kling Image 4.0

How to Use Kling Image 4.0 to Create an Image

Learn how to start with words or reference images, select an output that fits, and download your finished still.

Quick Start

  1. Step 1: Choose an Input Mode

    Use Text to Image when you have an idea in words. Use Image to Image if you have a source image or visual references.

  2. Step 2: Prepare the Inputs

    Describe the result you want. If you added images, say which features each one should contribute.

  3. Step 3: Set the Output

    Choose Single Image or Series Mode. Set the aspect ratio and an available resolution for the composition.

  4. Step 4: Generate the Image

    Select Generate Image. Open the returned result to assess the composition, important details, and any lettering.

  5. Step 5: Download and Save

    Download the image you want to keep and save it where you can find it for your project.

Choose Your Starting Workflow

Create from Text

Start with Text to Image when you can explain the composition but have no picture to start from. State the subject, where it sits in the frame, and what should draw attention.

Edit or Create from Existing Images

Use Image to Image to edit an uploaded original or create a new scene from references. Give a source image the lead role when you want a change to that image. Use reference material when you want a new composition built around selected features.

Prepare Your Inputs

Describe the Finished Image

Write the subject and setting first. Use the details that change what the viewer sees, such as the direction of light, the viewpoint, or space for lettering. Put exact lettering in quotes and keep it separate from composition instructions.

Assign a Role to Each Reference

Select a clear original and describe what to change and what to retain. When a second image matters, say whether it supplies a different view, a color, or a material. Up to 10 references are supported. A few clear pictures with distinct roles give the prompt a more specific job than several nearly identical images.

Configure the Image

Choose a Single Image or a Series

The workspace uses the Kling Image 4.0 model. Choose Single Image for one composition. Use Series Mode for related images that should share a visual style. Describe the common look and what should differ between images.

Set the Aspect Ratio and Image Quality

Choose Auto if the content or the source image should guide the frame. Use a fixed aspect ratio when you know the placement. A square tile uses 1:1 and a full-height mobile design can use 9:16. The model offers native 2K, 4K, and 8K output. Choose an available resolution based on where the image will be viewed or cropped.

Describe the Background

Put the background in the prompt. Describe its depth, material, and light when they affect the composition. If you are editing an existing photo, specify whether the background should change and which foreground objects should stay in the scene.

Generate the Image

Check the Inputs

Make sure your prompt reflects the selected mode. If you attached multiple references, confirm the roles still refer to the right pictures after adding or removing any of them.

Start Image Generation

Select Generate Image. Keep the workspace open while it processes the request and wait for the finished output to appear.

Open the Result

Open the image that appears in the result area. For a series, look through the returned images and choose which ones to keep. Read any lettering and check details that matter to the finished design.

Download and Save

Use the download control on a finished image. Save it to the folder for the project and give it a name you can recognize later. Keep a copy of your original when the output is part of an edit.

Continue or Edit

Build on the Current Result

If the new composition is close to what you want, use the downloaded result as the next source image. Describe a specific change, such as giving the title more spacing, and name details you want to keep.

Branch from the Original Source

Return to the original source when you want another direction or when the last attempt changed details you needed. Load the original and rewrite the instructions for the new direction.

Prompt Examples

A Still Life at the Shore

Starting material: A text description. No upload is needed.

Prompt:

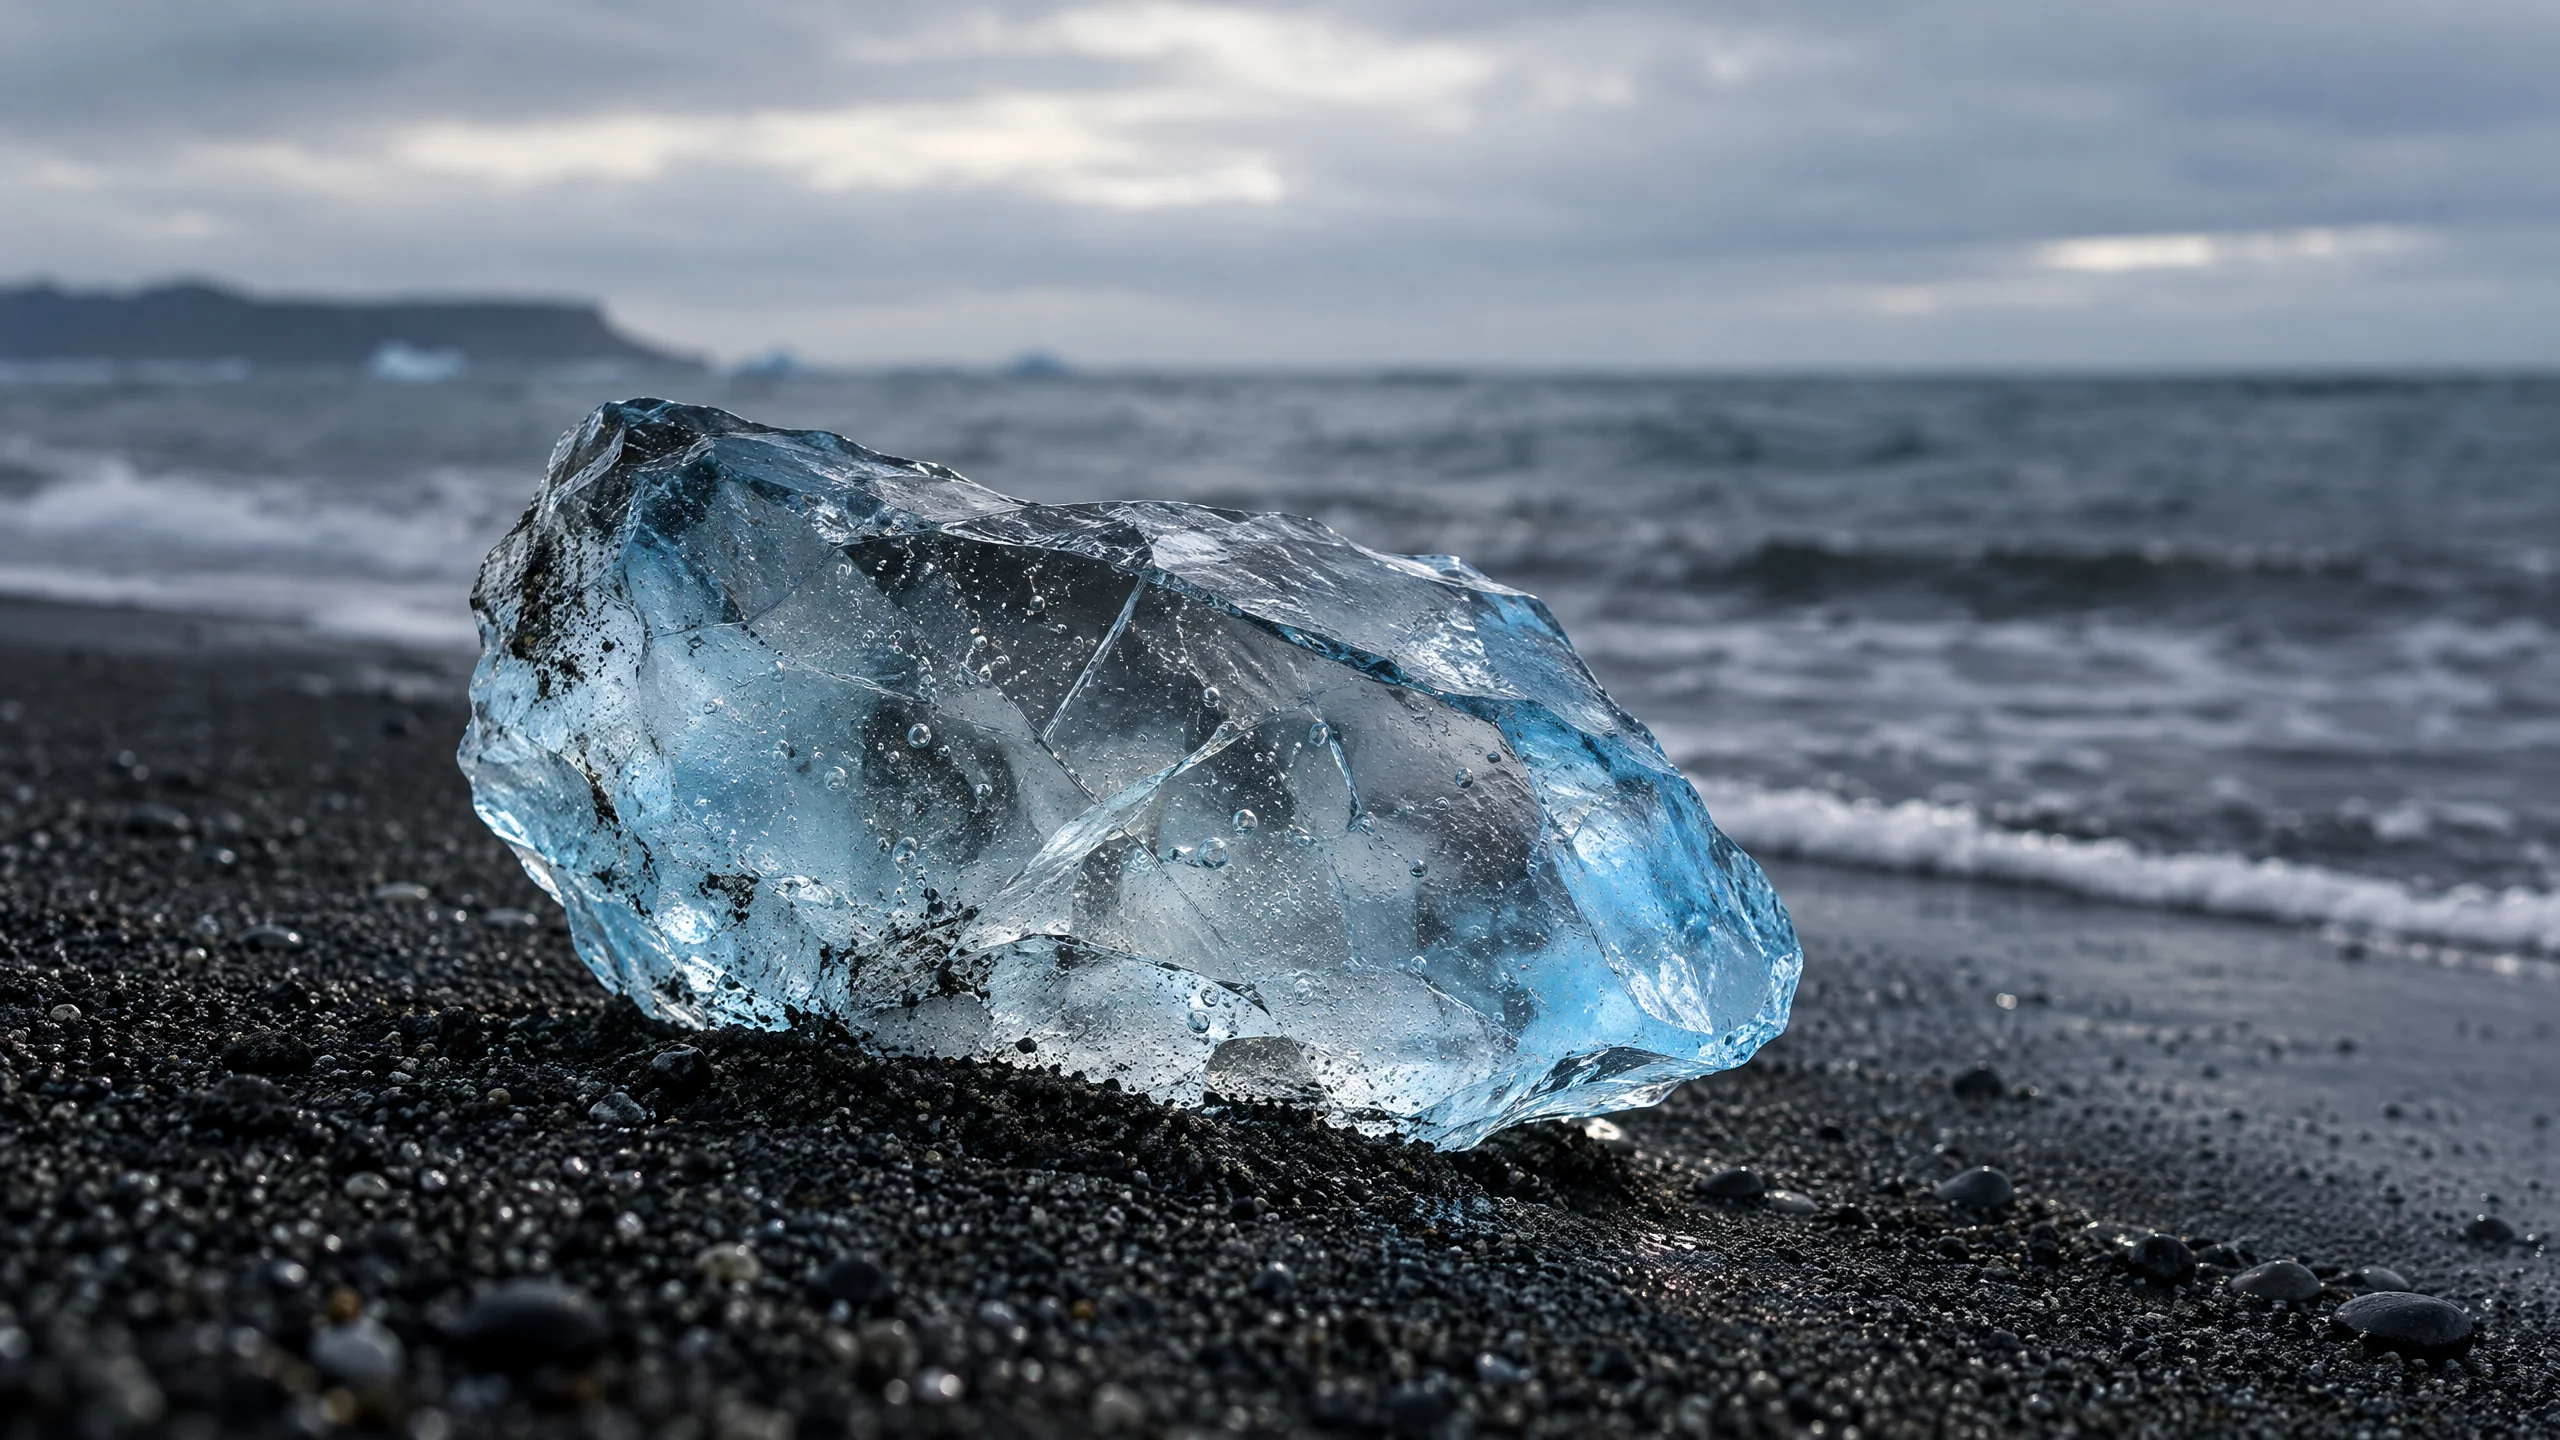
Create a wide editorial still life of a fist-sized piece of translucent glacial ice resting on grainy black sand near the tide line. See it from sand level with the dark water falling away in soft focus. Cloud-filtered light passes through the blue edge of the ice and exposes bubbles and fragile cracks. Keep the horizon quiet and give the ice room to catch the soft light.

Try it
A translucent blue piece of glacial ice on black sand by dark water

A Lamp in a Reading Corner

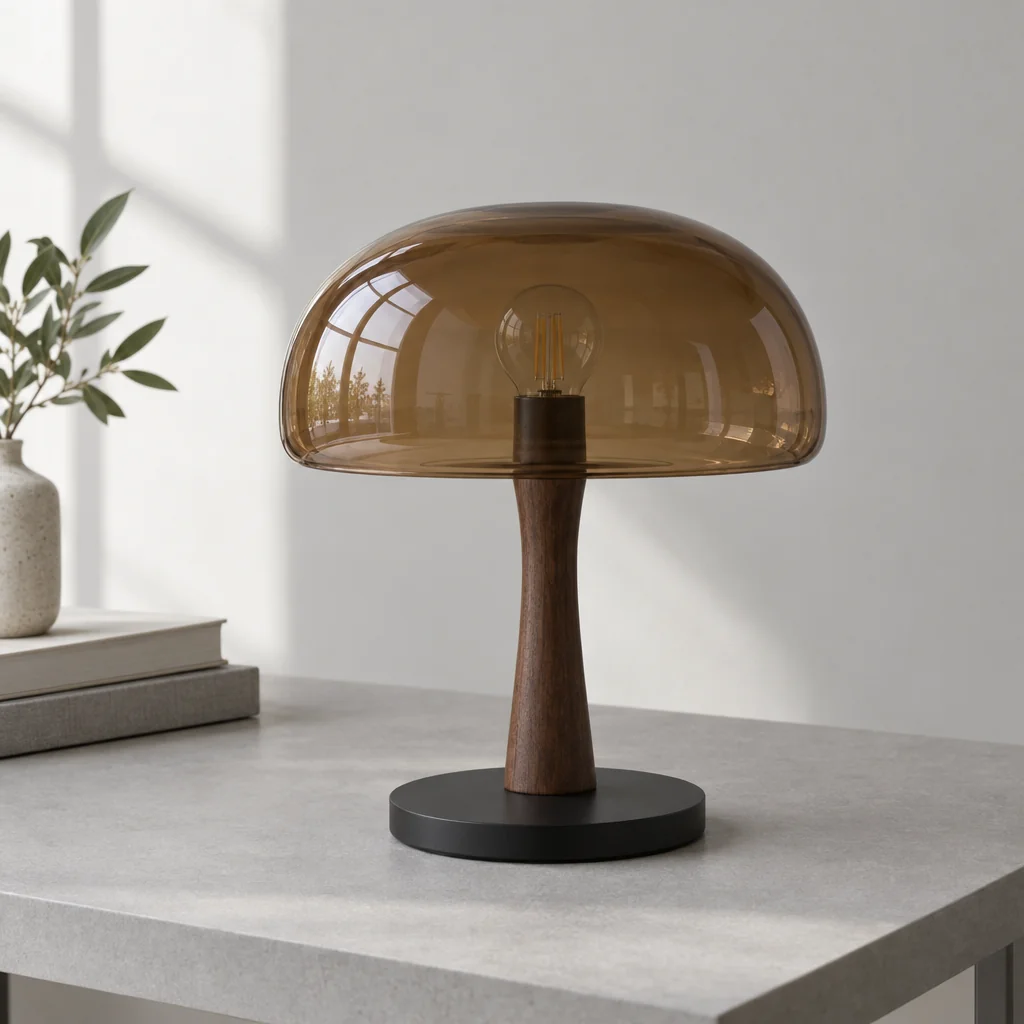
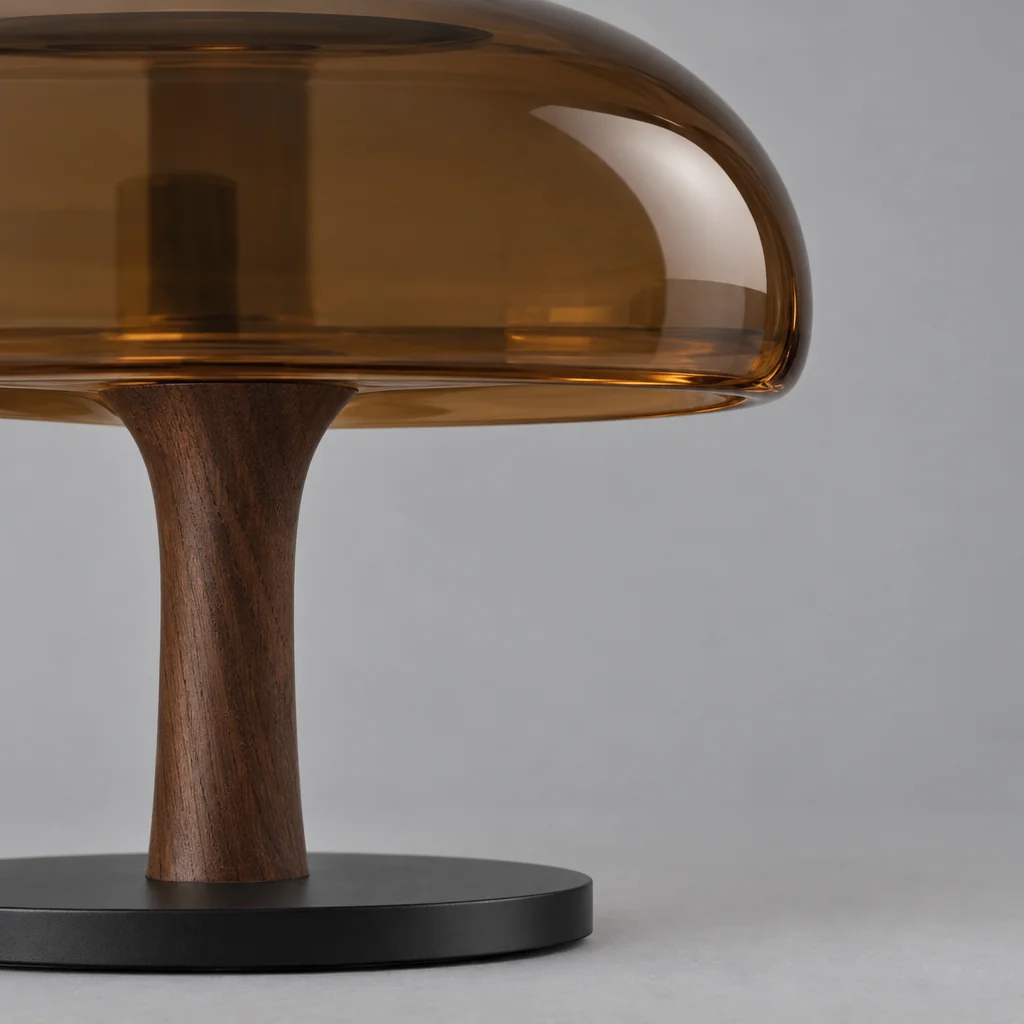
Starting material: Two photographs of the lamp. Use the full view for the silhouette and the close view for the shade and grain.

Full view of a smoked-amber glass lamp with a walnut stem and black circular baseClose view of the lamp’s smoked-amber glass and dark walnut grain
Prompt:

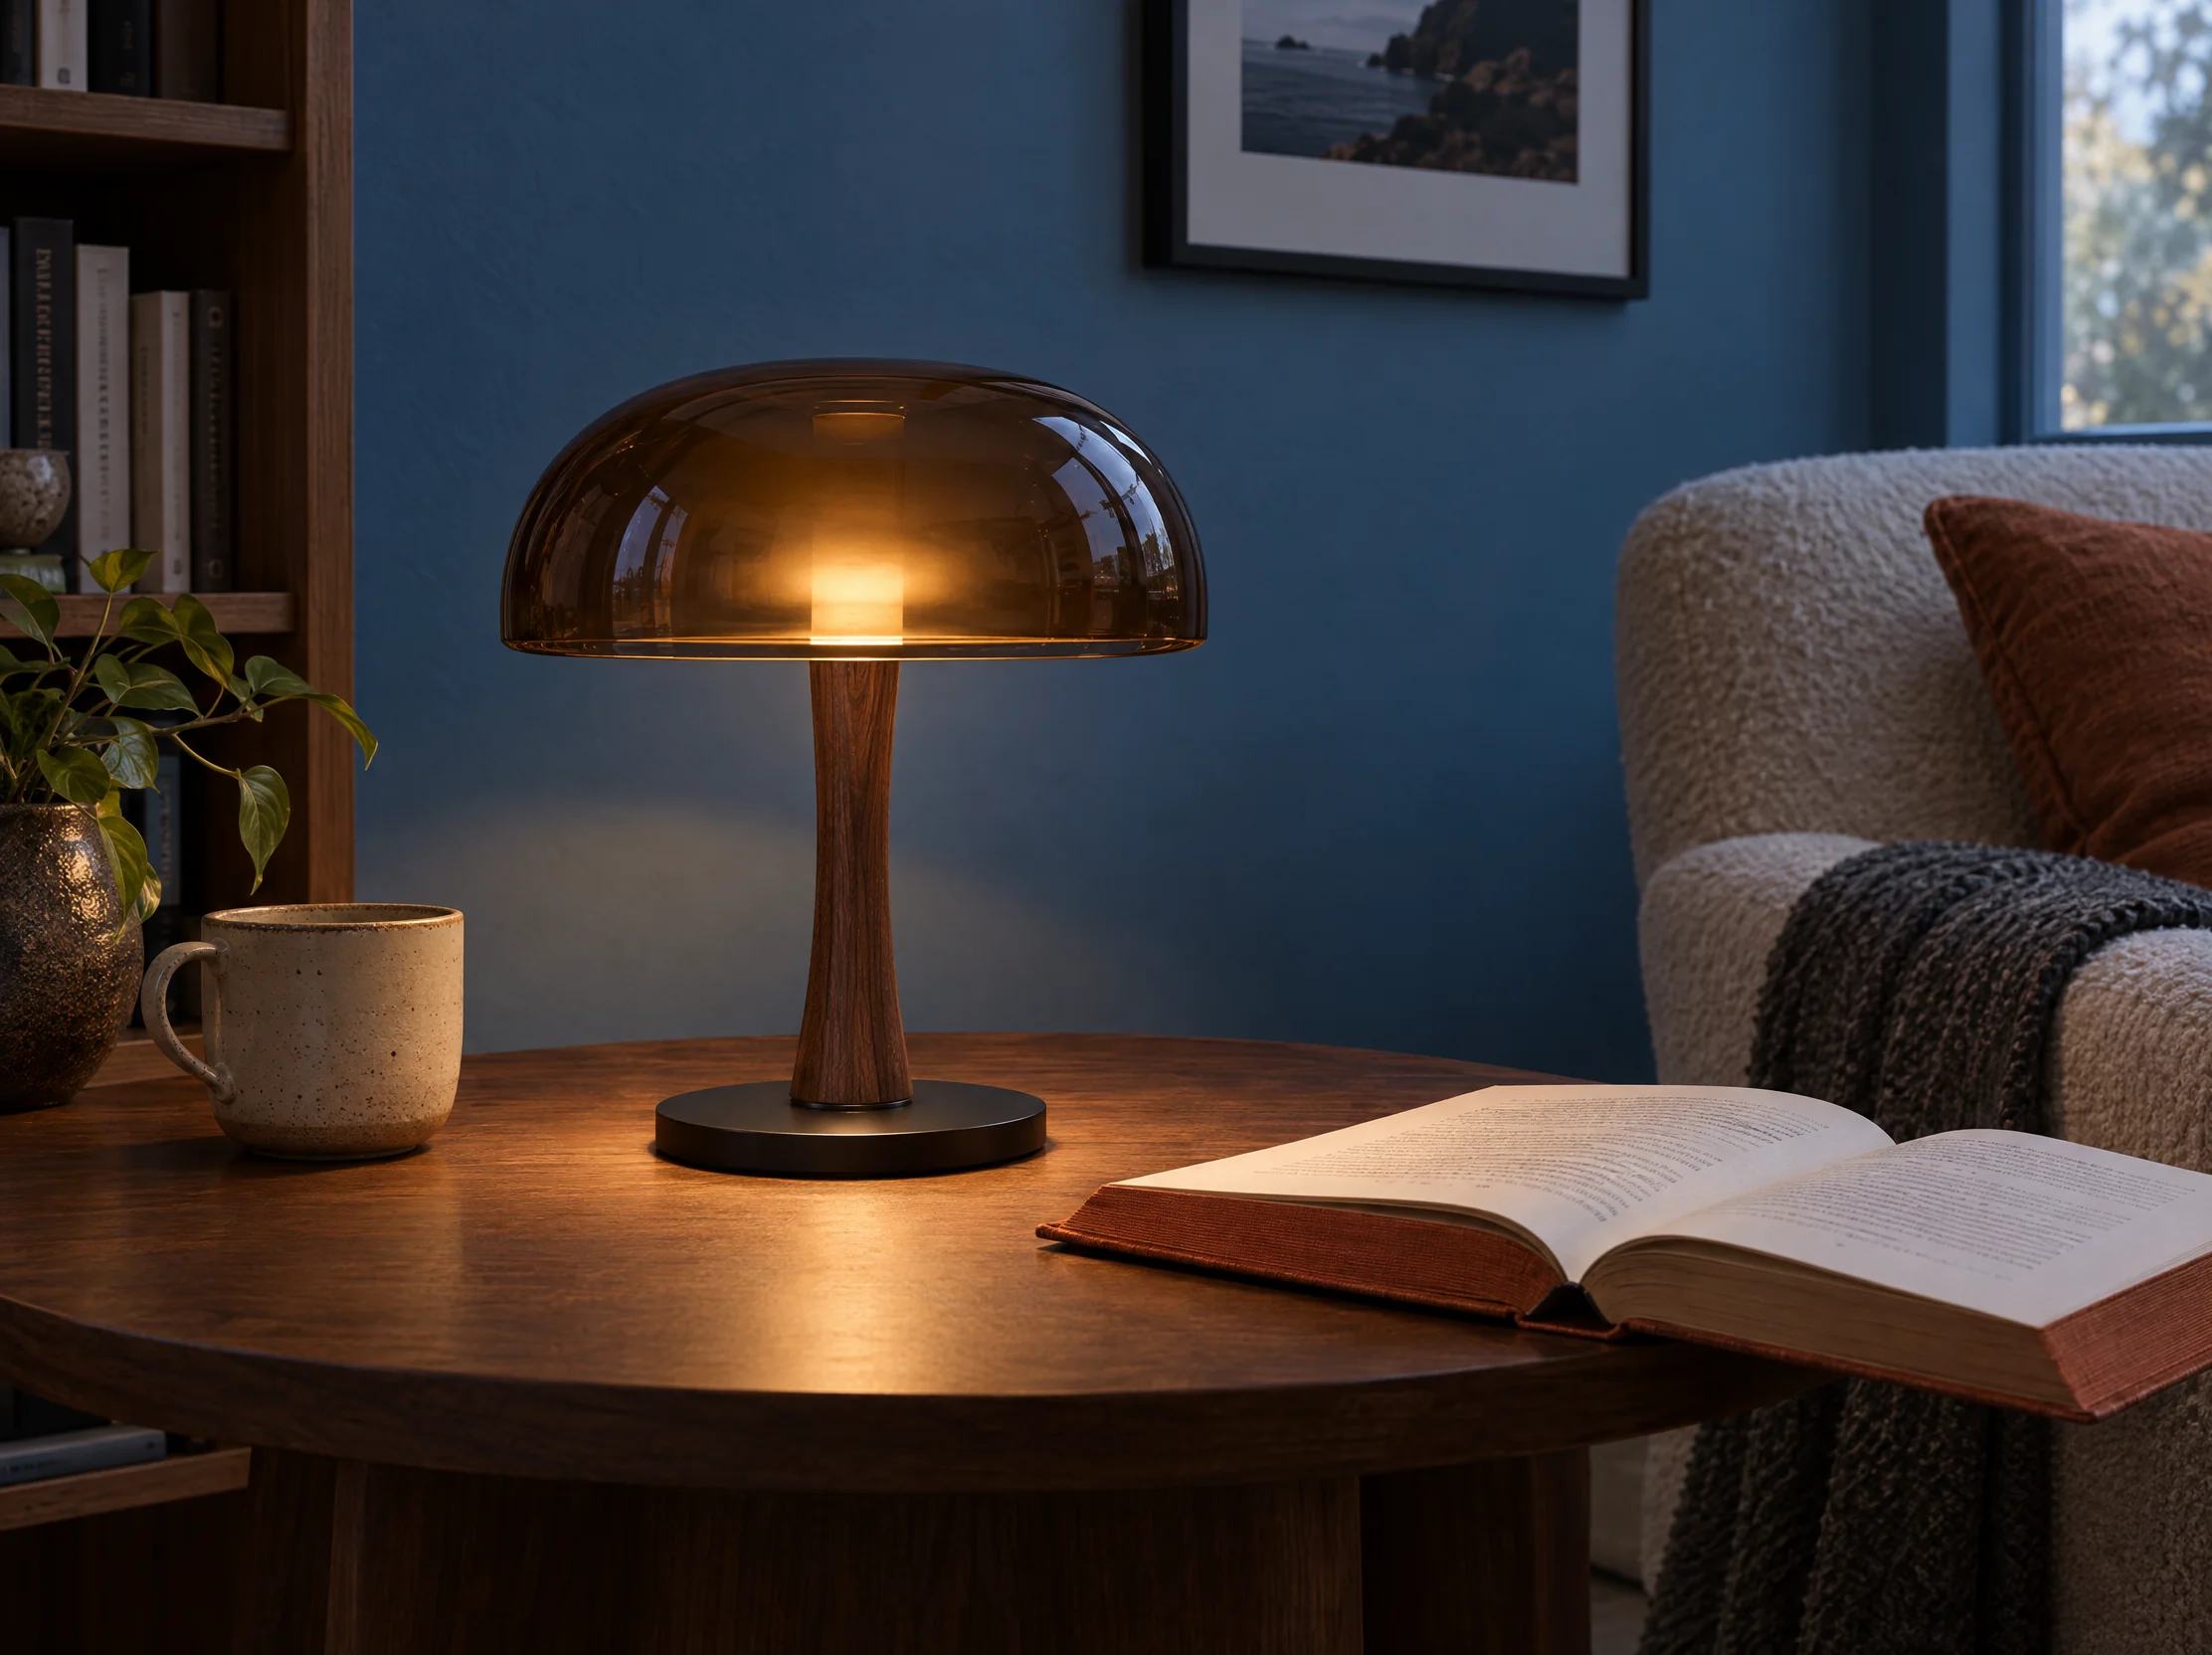
A low, sculptural desk lamp with a mushroom-shaped smoked-amber glass shade, a narrow dark walnut stem, and a flat black circular base. Use the full lamp view to guide the shape and the detail view to guide the glass and walnut. Set the lamp on a dark walnut side table in a reading corner, with a rust linen book lying open nearby. Frame the whole lamp at table height. The lamp glows warm against a cool blue wall, with soft falloff on the tabletop.

Try it
Amber glass lamp and an open book on a walnut side table against a cool blue wall

Night Swim Poster

Starting material: The event title and a text description of the poster.

Prompt:

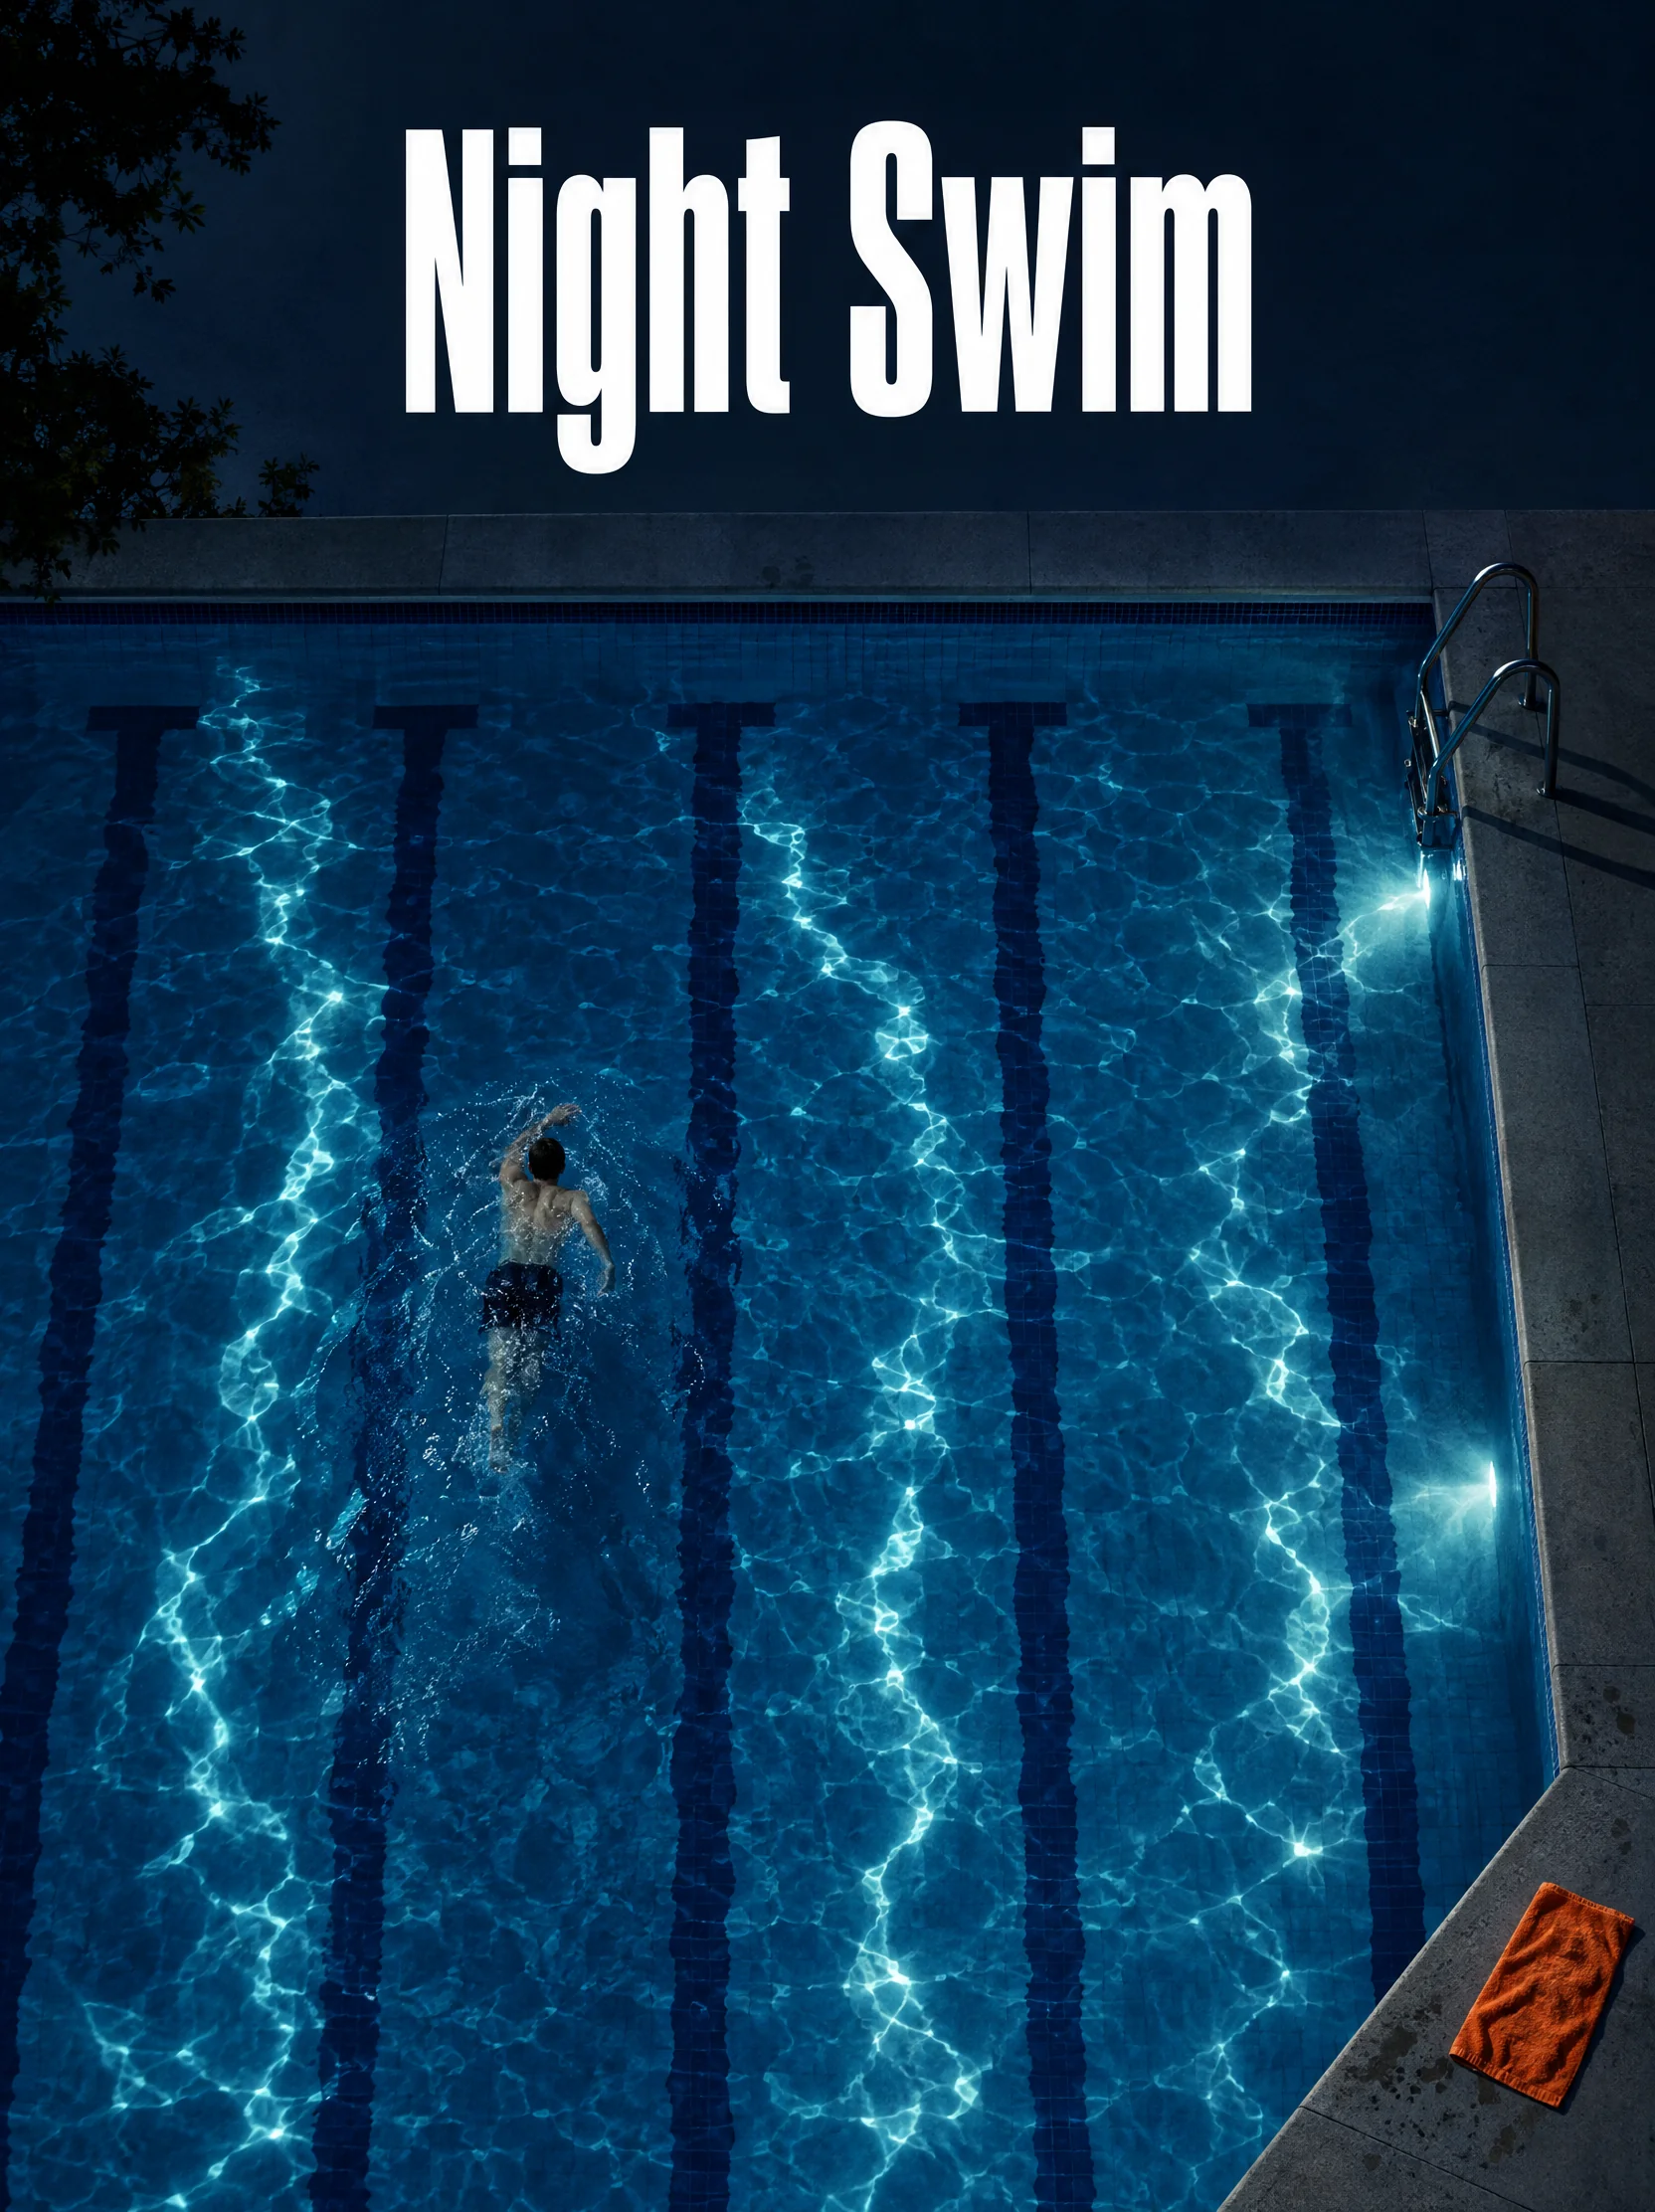
Design a vertical poster with the exact title “Night Swim” in large condensed white lettering. Set the title above an overhead view of a deep blue outdoor pool. Lane reflections form irregular pale bands while a single orange towel marks one corner. Keep the space behind the title quiet and limit the lettering to the supplied words.

Try it
Night Swim in white lettering over a deep-blue pool and an orange towel

A New Wall Color for a Listening Room

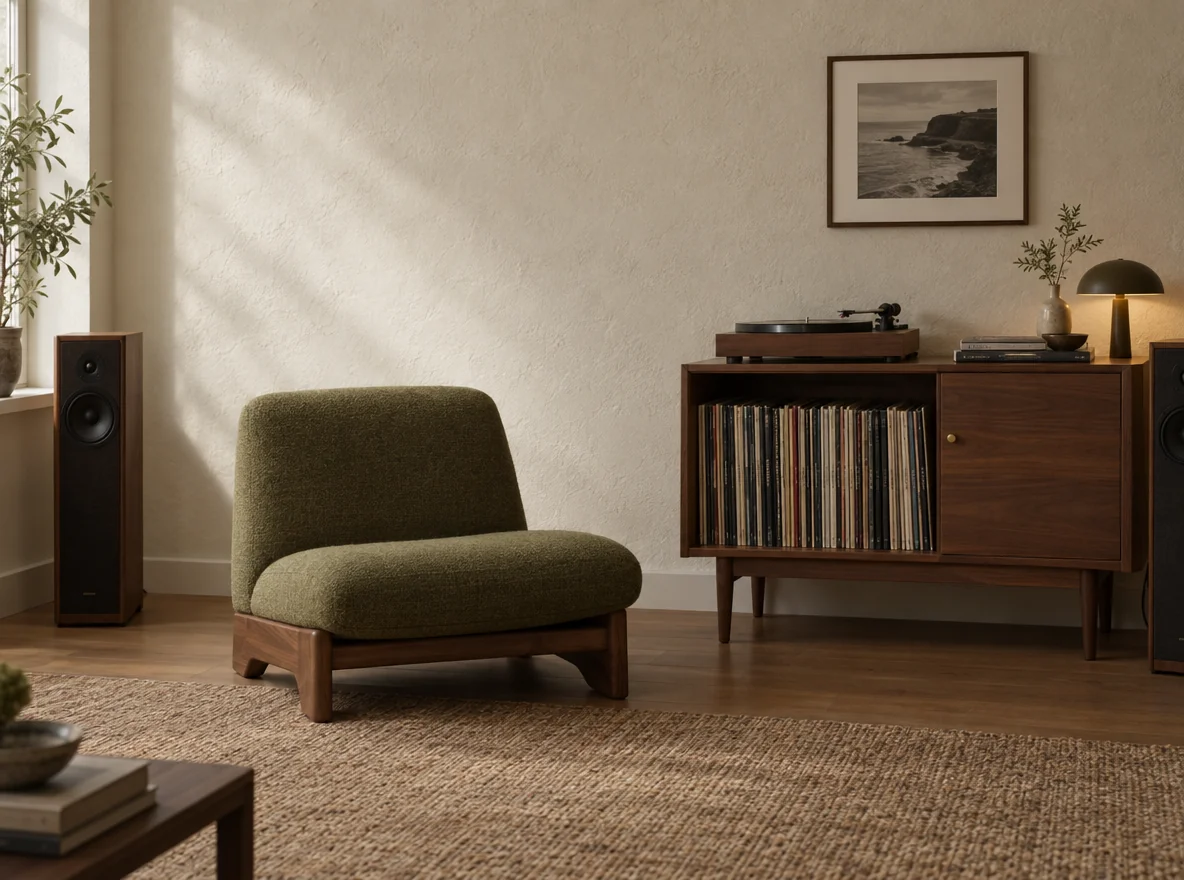
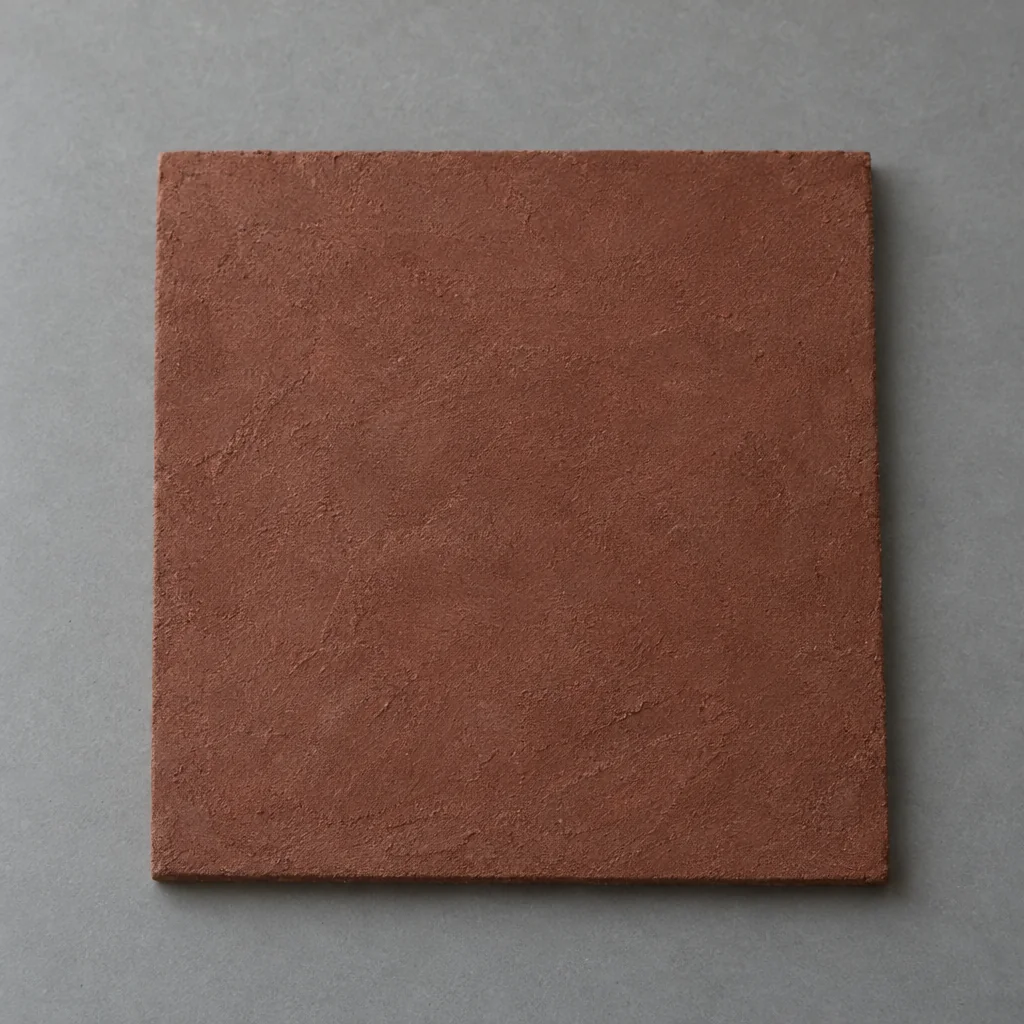
Starting material: A room photo and a material photo. Use the room as the starting image and the second photo for the new wall color.

Listening room with an olive chair and walnut record cabinet against a pale plaster wallMuted clay-red plaster surface showing its color and texture
Prompt:

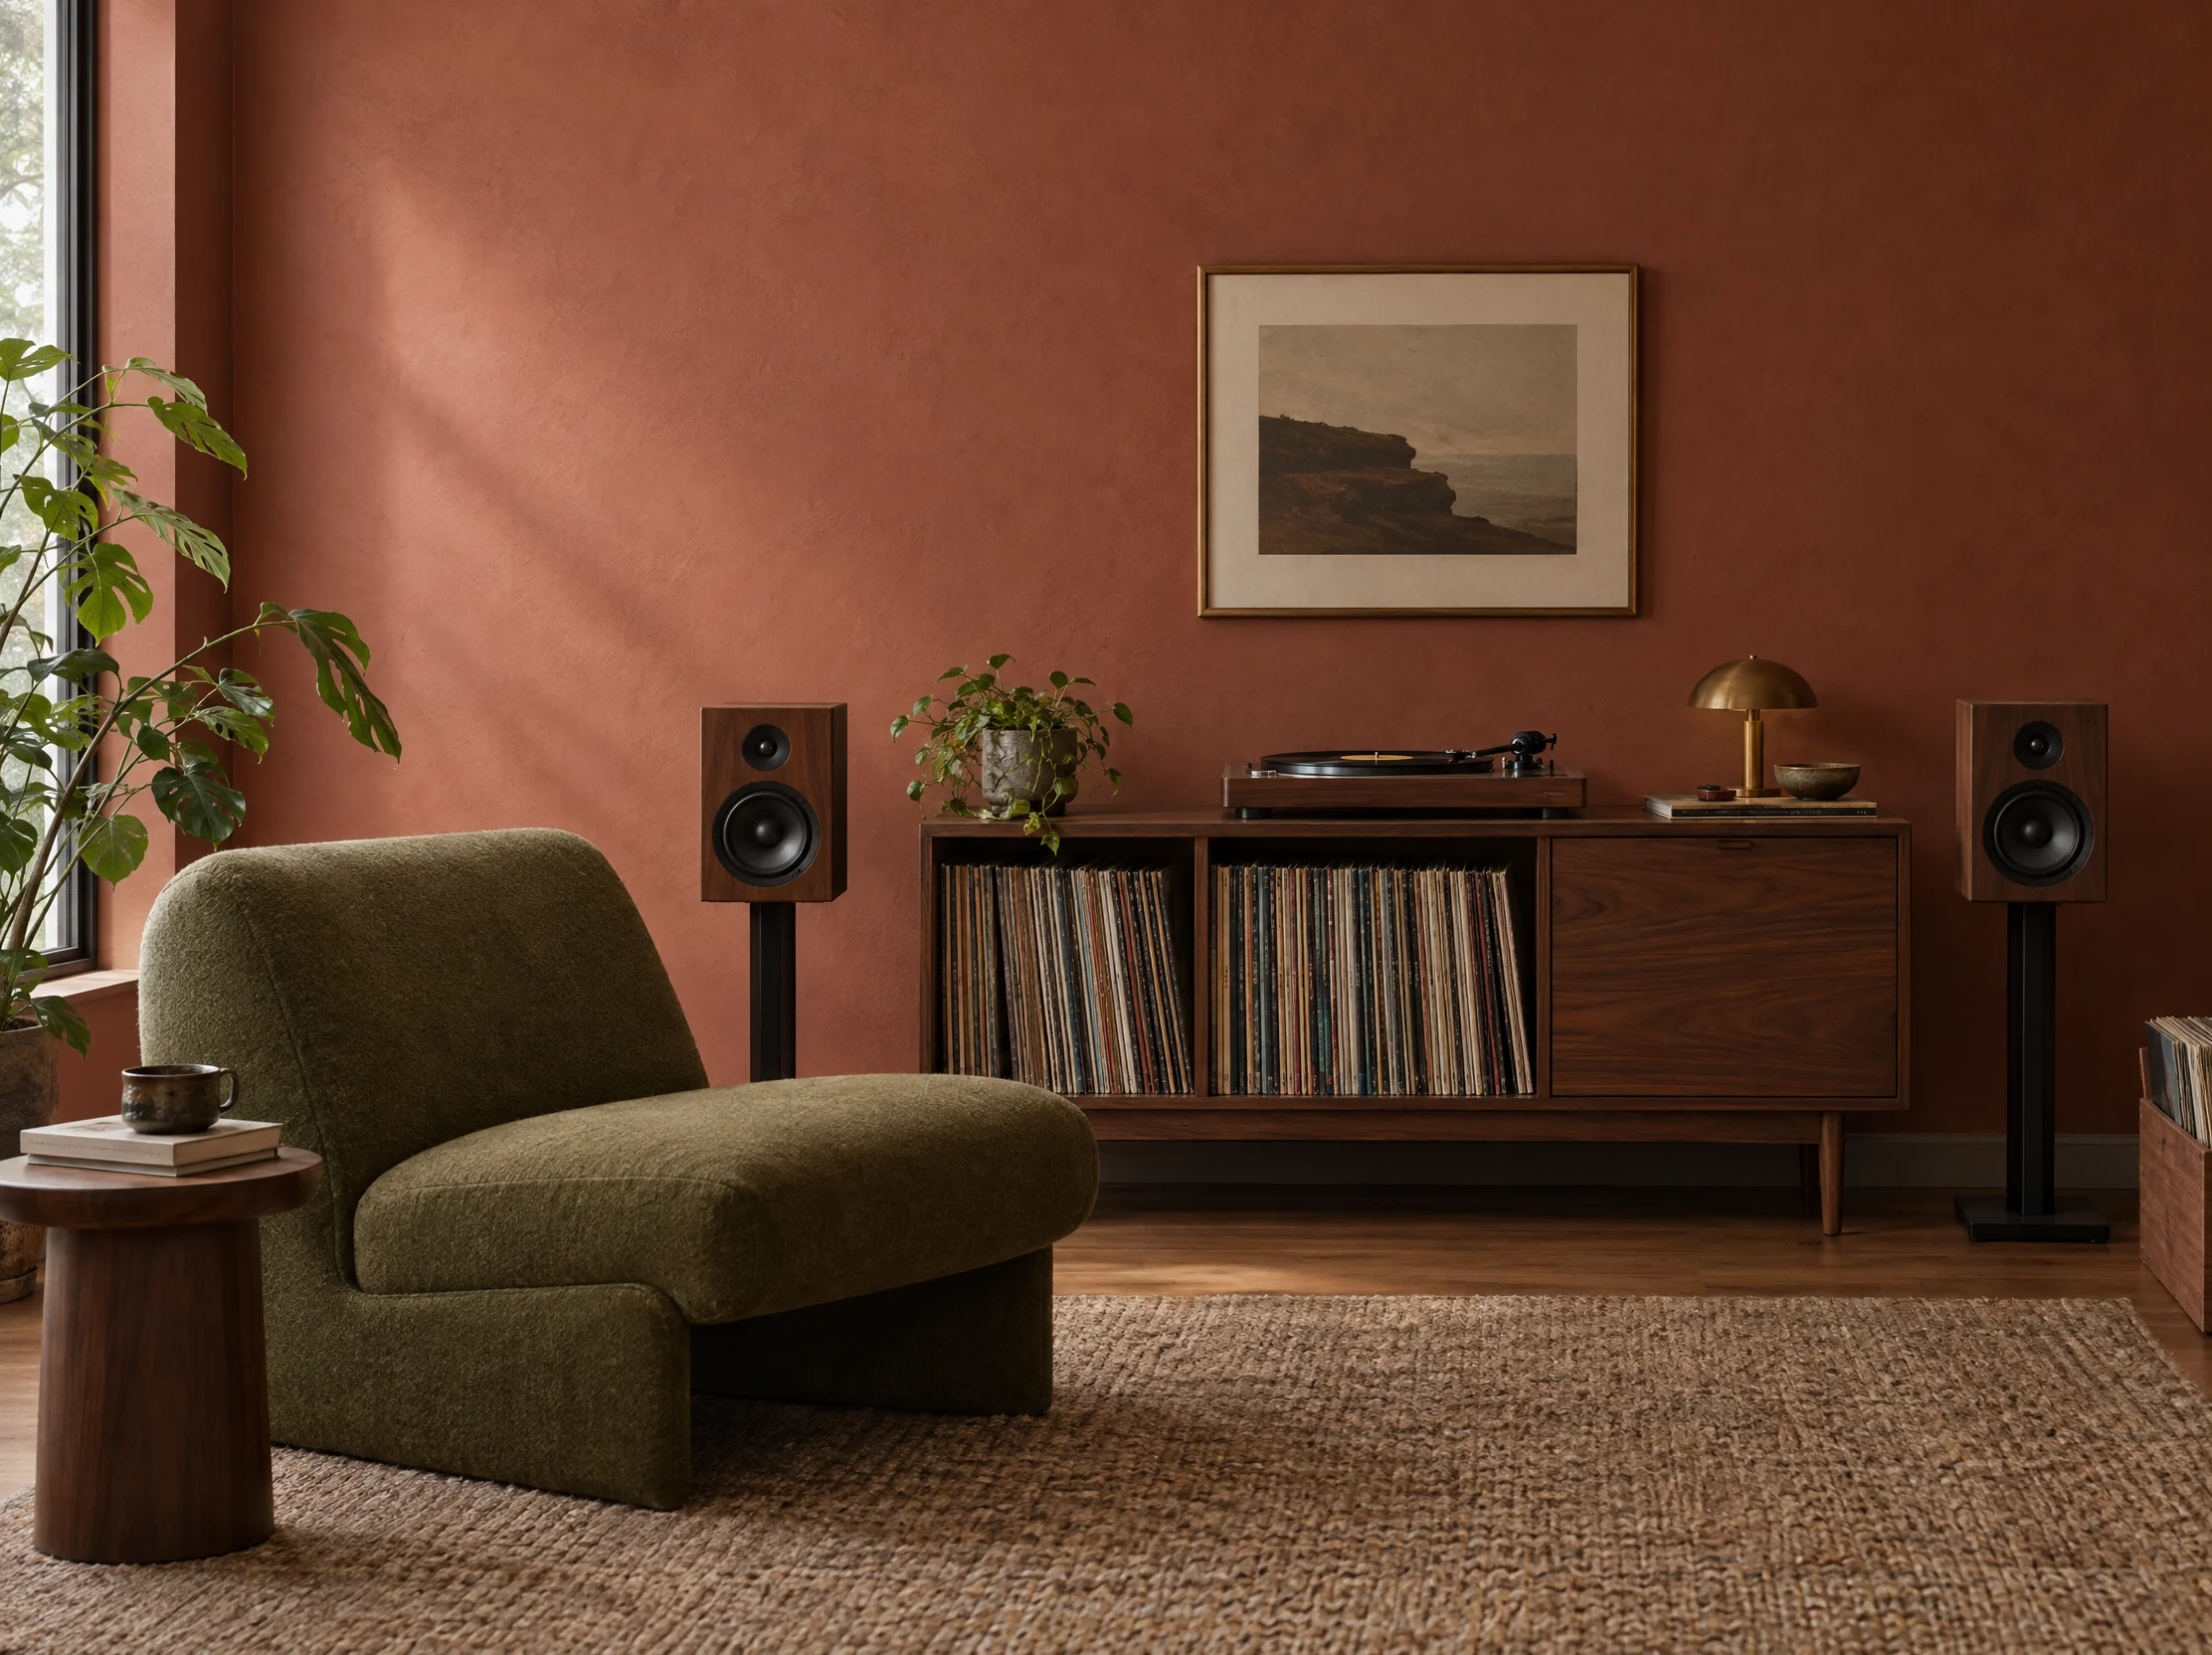
A small listening room with a low olive wool chair, a walnut record cabinet, and a pale acoustic plaster wall. Use the room photo as the base. Change the wall to the muted clay red shown in the plaster swatch. Preserve the chair, record cabinet, and listening-room layout. Use the same eye-level composition and soft side light, with enough wall visible to judge the warmth against the olive fabric.

Try it
Olive chair and walnut record cabinet against a clay-red listening room wall

A Long Trail Guide Image

Starting material: A text outline for a tall page image. No upload is needed.

Prompt:

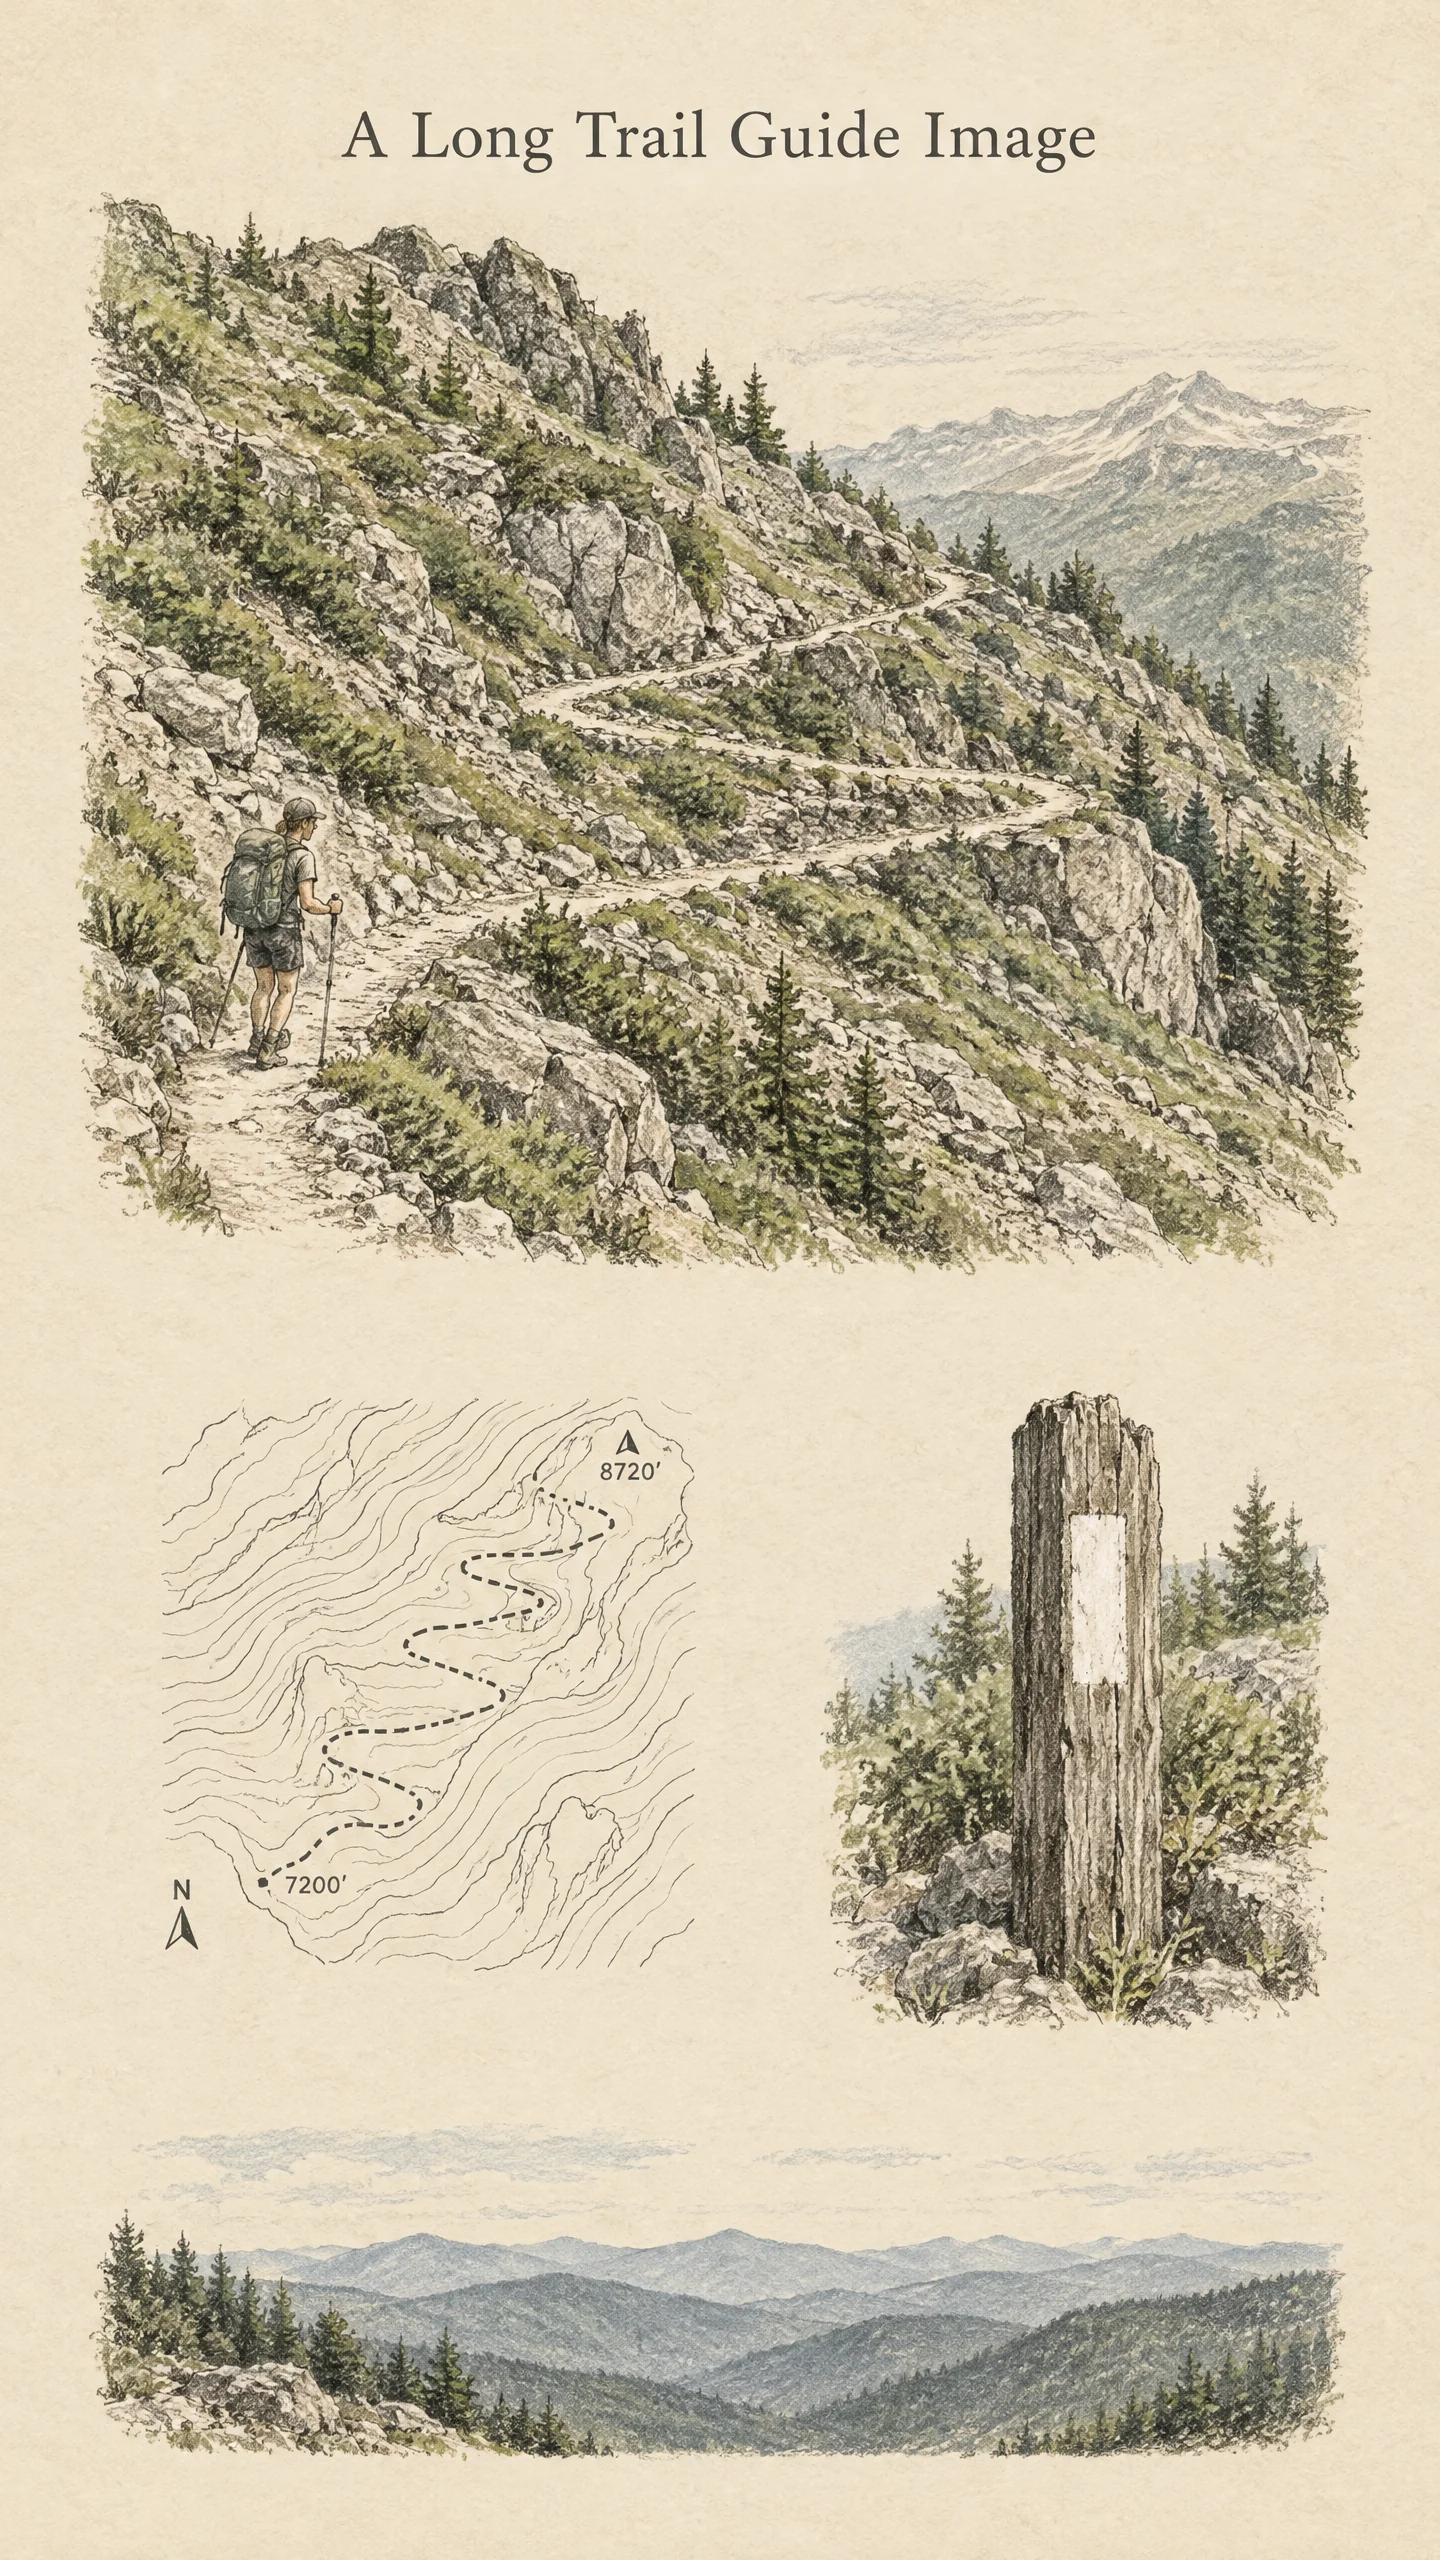
Compose a tall illustrated page titled “A Long Trail Guide Image.” Open with a charcoal and sage drawing of switchbacks crossing a rocky slope. Below it, alternate a small contour sketch, a drawing of a trail marker, and a quiet strip of distant ridge. Use a warm paper texture and generous gaps between the sections. Set the title in an understated book serif and keep the remaining sections visual.

Try it
A Long Trail Guide Image title above sage and charcoal illustrations of switchbacks and a ridge

Troubleshooting

The Subject Was Cropped

The chosen frame may be too tight for the intended view. Ask for the full object with room around its edges, and choose a shape closer to where the image will appear.

The Reference Changed an Important Detail

The instruction may have left that detail open to interpretation. Add a clear view of the area and say what to keep, such as the shape of a handle or the direction of a seam.

The Image Has a Misspelled Title

The title may have been hard to separate from the other instructions. Set the exact words apart in quotes, place them in a clear part of the frame, and keep decorative text to a minimum.

A Set Looks Like Unrelated Images

The prompts for individual images may have placed too much emphasis on differences. Describe a common subject, light, or color palette for the set before explaining what each image should show.

The Scene Feels Cluttered

Several objects may be competing for attention. Name the main subject and its position, then remove details that do not help tell the story of that image.

Kling Image 4.0 Guide FAQ

Can I start without a photo?

Yes. Text to Image starts with a written description. Name the subject and the details that matter for the intended result.

Do I need to fill all ten reference slots?

Use only the images that have a job. A second angle can clarify an object’s shape, while a sample of a material can guide its finish. Leave out images that contradict the details you want to keep.

What should I write for an edit?

Name the change first, then specify the elements to preserve. If you want the background changed, identify the part of the background and mention any foreground subject that should stay in the same place.

When is Series Mode useful?

Use it when the images belong together, such as several views of the same product. Describe what the set shares and give each image a purpose. The model supports up to ten related images in a Series Mode generation.

What is a good first resolution for a draft?

Start at 2K when it is available and you are judging composition. A larger finished layout or a tight crop can benefit from an available 4K or 8K setting.

How can I ask for exact words in an image?

Put the words in quotes and describe their visual role separately. Give the title and any smaller lettering a location in the composition. Read the text in the finished image before using it.

How do I return to a clean starting point?

Use your original inputs and start a new request. For an edit, load the original source instead of carrying forward changes from the last output.

Where can I compare credit packs?

Open the pricing page to compare the available packs. The cost for a generation is a separate decision to check in the tool before submitting.

Create an Image from Your Own Inputs

Start with a subject you want to describe or a clear image you want to work from.

Open the Image Generator